

Hey everyone! If you've ever tackled a flooring project, you know that getting those aluminum carpet trim pieces to fit just right can feel like solving a tiny, frustrating puzzle. I've been in the game as an Aluminum Floor Carpet Trim supplier for over 8 years now, and let me tell you-nothing makes a space look more polished or last longer than a perfectly cut 45-degree angle on those trims. Today, I'm breaking down exactly how to do this like a pro, no fancy experience required. I'll throw in some context from what I've seen customers mess up (and fix) over the years, plus links to the exact products we love using for these cuts, so you can grab the right stuff if you need it.
First off, why does the 45-degree angle matter so much? Let's be real-if you cut a straight line, the trim will stick out at a weird gap or look lopsided, especially when two trims meet at a doorway or transition between carpet and hardwood. A 45-degree miter cut lets two pieces butt together seamlessly, like they were made for each other. Plus, when you're working with Aluminum Floor Carpet Trim, aluminum is durable but can bend easily if you force it, so taking your time with the angle is key. I see new contractors try to rush this all the time, and 9 out of 10 end up with a trim that needs to be re-cut-wasting material and time, which no one wants.
Let's start with the tools you actually need. You don't have to drop a ton of cash here. The basics are: a miter saw (even a cheap handheld one works if you're not doing huge jobs), a sharp metal-cutting blade (regular wood blades will gum up aluminum, trust me), a measuring tape, a pencil, a straightedge (for marking lines), a pair of work gloves (aluminum edges can be sharp!), and a vise or clamps to hold the trim steady. Oh, and a file-you'll need that later to smooth out burrs. I always tell our customers that skimping on the blade is the #1 mistake. A $10 metal blade is way better than dull wood blade that tears through the trim and leaves ragged edges.
Wait, before you even pick up a saw-measure twice, cut once, right? That's not just a saying, it's rule #1 when trimming aluminum. Let's say you're cutting a trim for a doorway where two rooms meet. You want to account for how much the trim will overhang the carpet (usually 1/8 inch, so it sits snugly under the edge without sticking up). Mark the length on your Aluminium Carpet Edge Strip with a pencil, making sure the mark is straight. Then, set your miter saw to 45 degrees. This part is crucial: make sure the angle is calibrated correctly. How do you check? Grab a scrap piece of trim, cut it at 45, and lay it against a straightedge. If the ends line up perfectly, you're good. If not, adjust the saw's angle until it's right. I've had customers tell me their trim came out wrong, and 7 times out of 10 it was because their miter saw was off by a few degrees-tiny mistake, big headache.
Once your saw is set, clamp the trim down tight. No matter how steady you think your hand is, moving a thin aluminum piece while cutting will warp the metal or make the cut wobbly. Align your marked line exactly with the saw blade's edge, double-check the angle again, and then make the cut slowly. Don't press down hard-let the blade do the work. For thinner trims (like the ones we sell as Carpet Aluminum Edge Trim), a slow, steady cut is all you need. Thicker threshold pieces (our Aluminium Carpet Threshold Strip) might need a little more oomph, but still-no forcing it. Rushing here will leave jagged edges that are painful to touch (trust me, I've sliced my finger on a bad cut more than once) and look unprofessional.
After you make the cut, step back and take a look. It should be a clean, smooth 45-degree angle with no big gaps or rough spots. But wait-aluminum leaves tiny metal burrs on the cut edge, and those are no joke. Grab your metal file (a regular sandpaper won't cut it, pun intended) and run it along the cut edge a few times. This smooths out the burrs so you don't get hurt, and also helps the trim fit together better when you install it. I always show our new customers this trick when they order Aluminum Carpet Edge Trim-they're shocked how big of a difference filing makes. A sharp file at a 45-degree angle to the cut works best, so you don't round over the edge more than you need to.
Now, what if you're cutting two pieces that meet at an inside corner? Like, in a closet where the trim runs along two walls. You'll cut each piece at 45 degrees, one left and one right, so when you put them together, they form a perfect 90-degree corner. Same for outside corners-just mirror the angles. The key here is to dry fit the pieces before you attach them. Lay them down where they'll go, push the two cut ends together, and check for gaps. If there's a gap smaller than a credit card, you can probably adjust it a little, but if it's bigger, you'll need to trim it again. I learned this the hard way early on when I installed my own bedroom trim-dry fitting saved me from having to start over with a brand new piece.
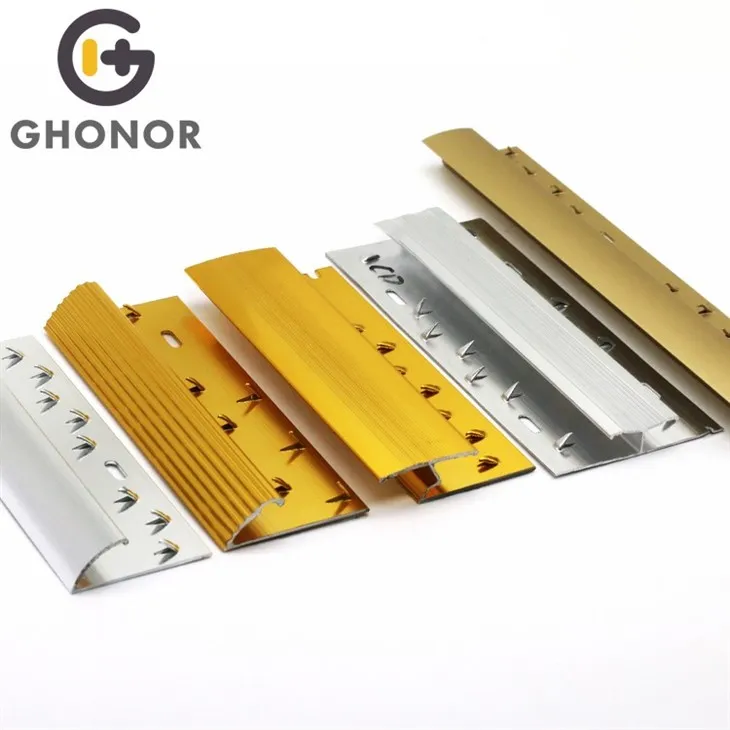

Wait, a quick pro tip from my team and I: when working with aluminum floor trim, don't use a circular saw unless you have a guide. Circular saws can wander if you don't have a straightedge clamped down, leading to wonky angles. Miter saws are way more consistent for 45s. Also, if you're doing a lot of cuts, change the blade regularly. A dull blade will melt the aluminum a little, leaving a sticky residue that's hard to clean off. We always include a free spare blade with bulk orders from our store, because we know how often people go through them on big jobs.
Another thing: surface prep matters. If you're cutting trim that's already been installed, make sure you're measuring from the exact spot where it needs to fit. But if it's new, lay the trim next to the carpet edge and mark where the angle will go. For carpet transitions, the 45-degree cut should sit just under the carpet pile-you don't want it sticking up above the carpet, because that's a tripping hazard. When you install it, use small nails or screws (we recommend stainless steel ones to prevent rust) every 6 inches, and make sure it's level with the floor.
I've seen so many customers struggle with this, especially when they're doing it for the first time. The biggest takeaway? Don't be afraid to practice on a scrap piece first. We always keep extra scrap trim in our warehouse for this exact reason-grab a piece, mess up a cut, try again. Aluminum is affordable, so you don't have to be perfect on the first try. Once you get the hang of it, those 45-degree cuts will take less than a minute each, and your finished project will look 10x better.
If you're in the market for quality aluminum trim pieces, we've got all the options you need-whether you're looking for a thin edge strip for a small room or a thick threshold strip for a heavy-traffic doorway. All our products are made from durable aluminum that won't rust or bend easily, so they'll last for years. We've helped hundreds of contractors and DIYers get their projects right, and we're here to help you too. If you have questions about measuring, cutting, or installing, feel free to reach out to our team to chat-we're always happy to share tips from our years in the business. Whether you need a single trim piece or bulk orders for a large project, we've got you covered.
References
- Flooring Installation Guidelines for Metal Transition Strips, National Wood Flooring Association, 2022
- Aluminum Trim Cutting Best Practices, Metal Fabrication Association of North America, 2021
- DIY Flooring Projects: Miter Cut Techniques, Home Improvement Workshop Journal, Volume 14, Issue 3, 2023