


What height trim corner for 10mm thick tiles?
A Practical Guide to Choosing the Height of 10mm Thick Tile Trim
Choosing the right thickness of tile trim not only enhances the aesthetic appeal of the tile but also protects the tiles from cracking. Remember to choose the appropriate height of the tile profile not only helps the adhesive adhere better, but also creating a more professional and neat decorative effect. This guide will provide you with a detailed introduction to the material selection, height matching and installation suggestions for decorative strips suitable for regular-thickness tiles, helping you easily complete the tile edge finishing work.
Professional Guide
1. Understanding Tile Trim: Function, Material and Style
2. Key points for choosing the height of 10mm tile trim
3. Common Trim Sizes and Applications for 10mm Tiles
4. Installing Trim for 10mm Tiles: Step-by-Step Methodology
5. Conclusion: Precision as a Practice
1. What is the function of tile trim
Tile trim strips, also known as edge profiles or transition strips, play a very important role in the tiling process:
Edge protection :
The edges of tiles are easily damaged after cutting. Using tile edge trim strips can cover these vulnerable areas, preventing the tiles from cracking due to collisions or daily wear and tear.
Enhance Safety :
The edges of untreated tiles may appear sharp; it is not safe. After installing the trim strips, a smooth corner can be formed, effectively reducing the risk of injury at wall corners, countertop corners, or on stairs.
Enhance aesthetic appeal :
Tile border trims are not only practical but also serve as transition trims, providing a connection between tiles and different materials such as gypsum boards, floors, or cabinets.
2. Commonly Used Tile Configuration files
When choosing tile edge trim, we took into account cost, usage environment and overall design style.
Stainless steel (SS304/SS316) tile edge trim:
Due to its inherent hardness, corrosion resistance and rust prevention, stainless steel is particularly suitable for areas with high traffic or high humidity. It can be made very low (0.5-3 millimeters) and offers various surface treatments, such as brushed, mirror or PVD colored coatings (gold, black, rose gold, etc.). Custom colors are also available.
Anodized aluminum tile edge trim:
Light in weight, corrosion-resistant, easy to transport and install. It can be anodized or powder-coated, allowing for various color combinations. The standard thickness range is from 0.8 to 1.2 millimeters, providing outstanding value.
PVC (polyvinyl chloride) tile edge trim:
Reasonable price (about 50% cheaper than metal). It is waterproof, flexible and easy to cut, and is available in a variety of colors and wood grain effects. However, its lifespan is shorter than that of metals and it should not be exposed to sunlight for a long time, as this will lead to degradation.


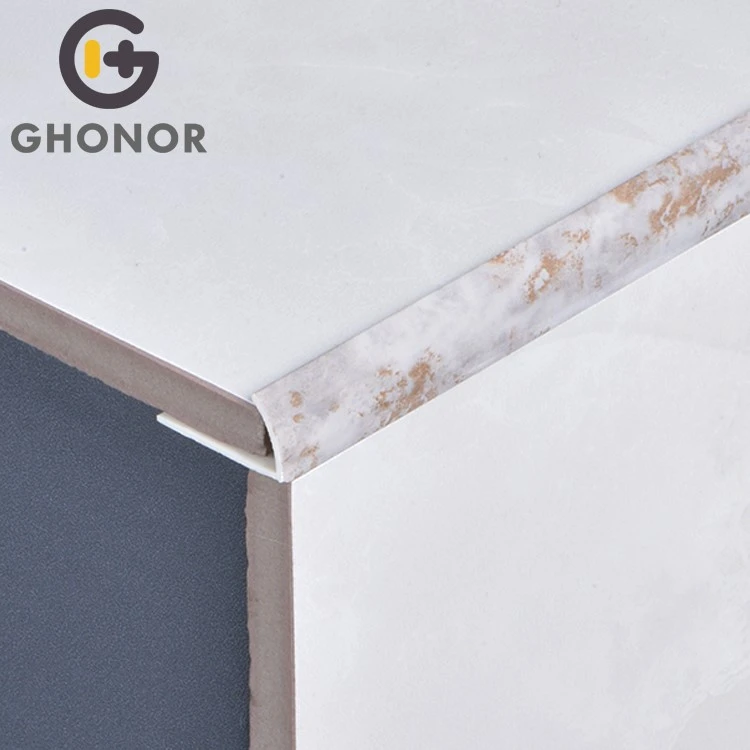
3. Classification of Tile Trim styles

Suitable for wall corner, countertop or floor edge finishing, providing stable protection.
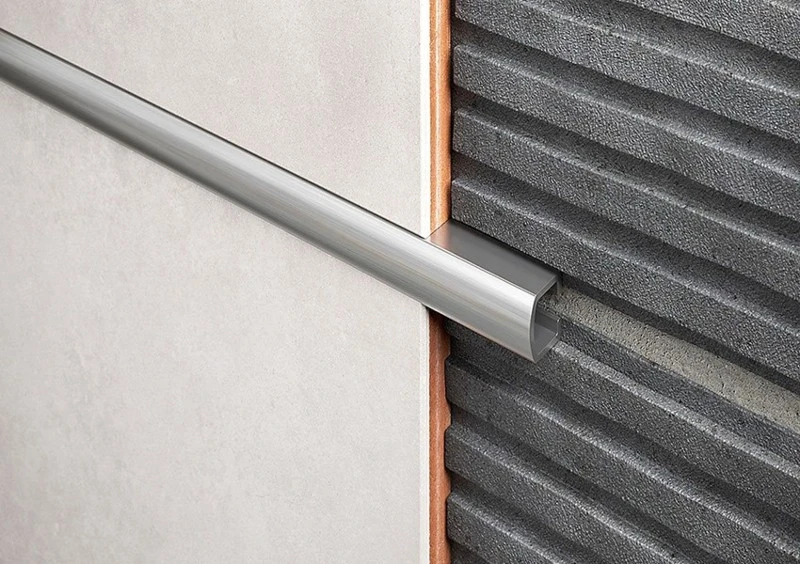
It is used to connect tiles with different materials, such as wood and carpets, and can also be used for area separation.
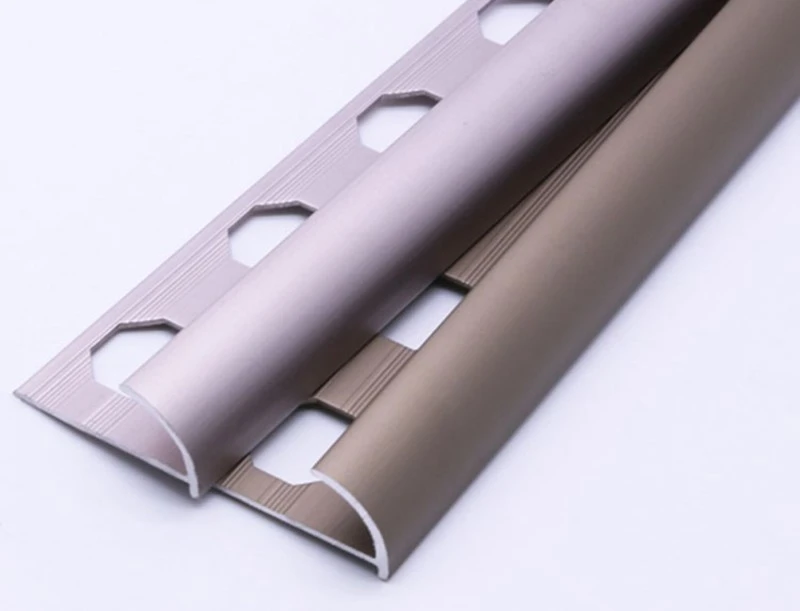
Brings a soft visual effect to steps, tables or corners of walls.

It is used to connect floors of different heights, such as the transition between tiles and wooden floors.
The "height" of the trim refers to the depth of its coverage in the vertical direction. For 10mm thick tiles, the appropriate height of the trim is not fixed but is influenced by the following factors:
1. Tile thickness and adhesive layer thickness
The basic principle is:
The height of the trim = the thickness of the tile + the thickness of the adhesive + the reserved edge
- ** Wall application ** : The thickness of the adhesive is usually 2-4mm. It is recommended that the height of the decorative strips be 1-1.5mm thicker than that of the tiles (i.e., 11.5-12mm).
- ** Floor application ** : As the ground base material may not be flat enough, the thickness of the adhesive is usually 3-6mm. It is recommended that the height of the decorative strips be 1.5-2mm thicker than that of the tiles (i.e., 12-12.5mm).
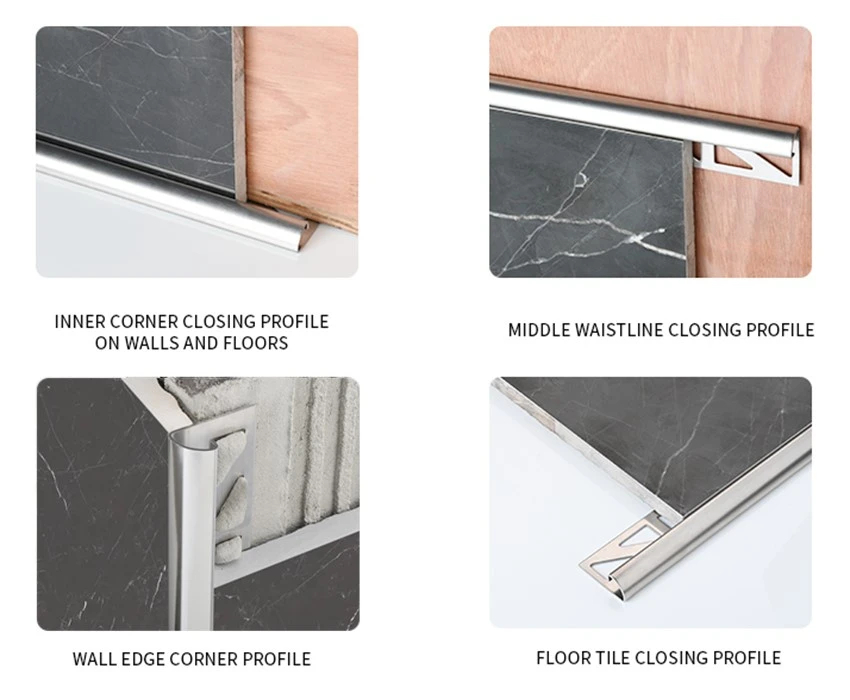
Why should edges be reserved?
Reserved edges can make up for the problems of uneven base materials or slight warping of tiles, ensuring that the decorative strips can fully cover the edges of the tiles. Even if the adhesive compresses during the curing process, it can still maintain a good coverage effect.
2. Tile Layout and Design Intent
- Concealed vs. Visible Flange: A 12mm height works for concealed flanges (hidden under tile). For visible flanges (design accent), heights up to 25mm create bold reveals.
- Grout Joint Alignment: Match trim height to tile + grout depth for flush transitions. For 10mm tiles with 2mm grout lines, a 12mm trim aligns perfectly.
- Material Transitions: Joining 10mm tiles to thicker flooring (e.g., 18mm hardwood) requires asymmetric trims like reducers (e.g., 10x18mm)
3. tile Edge Location and Installation Type
- External Corners (Walls): Use L-trims with equal legs (e.g., 10x10mm) for balanced coverage.
- Stair Noses: Trim height must cover the tile's top surface and edge (e.g., 10mm tile needs ≥15mm trim).
- Wet Areas: Add 0.5–1mm to height to offset adhesive washout in showers.
Table 1: Trim Height Recommendations for 10mm Tiles by Application
| Application | Adhesive Thickness | Ideal Trim Height | Material Suggestions |
|---|---|---|---|
| Wall Corners | 2-4mm | 11.5-12mm | Anodized Aluminum, PVC |
| Floor Transitions | 3-6mm | 12-12.5mm | Stainless Steel, Aluminum |
| Shower Curb/ Bench | 4-5mm | 12.5-13mm | Stainless Steel (316 grade) |
| Stair Nosing | 4-5mm | 15-20mm | Brushed Stainless Steel |
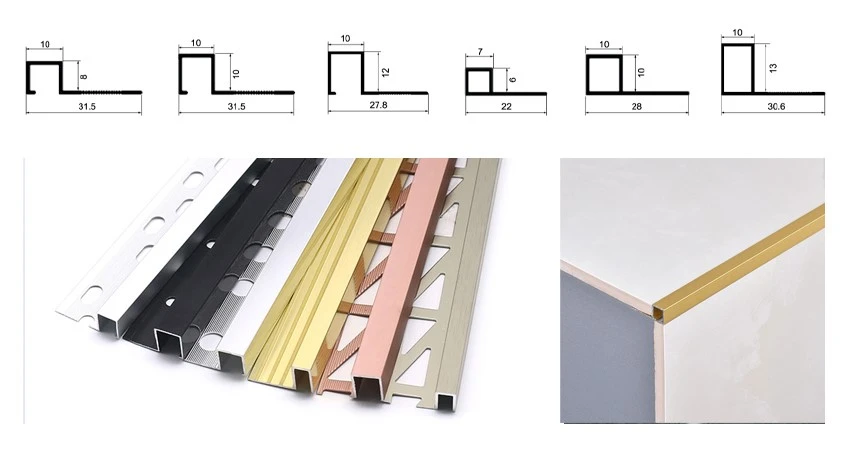
Manufacturers offer standardized heights near the 10–13mm range, with customization available:
- 10–10.5mm: Designed for nominal 10mm tiles with thin adhesives. Risk of inadequate coverage if adhesive exceeds 3mm. Best for factory-edged tiles on flat walls.
- 11.5–12mm: The sweet spot for most 10mm wall and floor tiles. Accommodates standard adhesive beds (3–5mm) without visible gaps.
- 12.5–13mm: Used where substrates are uneven (old concrete floors) or for textured tiles requiring thicker adhesive.
- 15–20mm+: Functional for stair edges or design-led accents. Our 15mm stainless steel profiles are common in commercial stairs.
Customization Options:
- PVC Trims: Easily extruded in custom heights (e.g., 11.7mm for exact wall-tile alignment).
- Metal Trims: Laser-cut for asymmetric heights (e.g., 10x15mm for tile-to-carpet transitions).
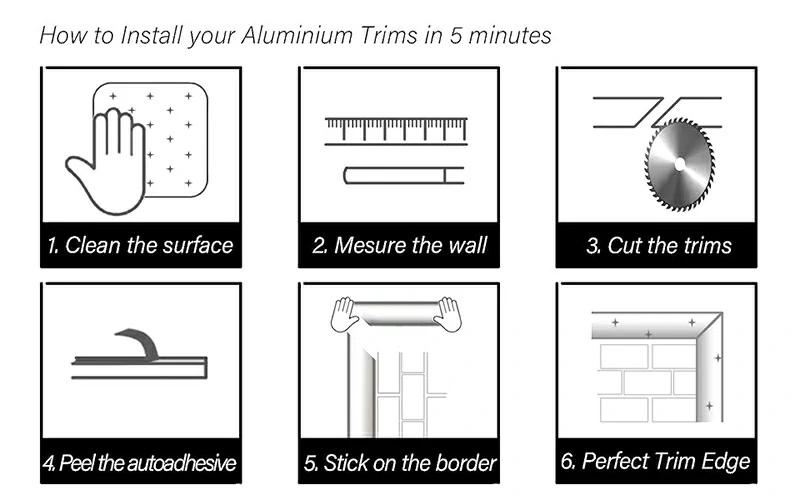
Proper installation ensures trims function as protective elements, not just decorative covers:
Pre-Installation Planning:
Trim Cutting: Use a miter saw (metal) or fine-tooth hacksaw (PVC) for 45° corner joints. Deburr metal edges to prevent injury.
Dry-Fitting: Test trim height against a laid tile + adhesive spacer. The tile should slide under the flange with slight resistance.
Installation Sequence:
- Adhesive Application: Apply polymer-modified thin-set mortar to substrate using a notched trowel.
- Trim Placement: Press the trim firmly into the mortar. Verify vertical alignment with a level.
- Tile Setting: Lay tiles immediately, pressing them against the trim's flange. Maintain 1.5–2mm clearance for grout between tile and trim.
- Grouting: After adhesive cures, fill the gap with grout using a soft rubber float. Remove excess with a damp sponge.
Pro Tips for 10mm Tiles:
For stainless steel trims, use epoxy grout to prevent metal staining.
In wet areas, silicone sealant behind the trim flange adds a waterproof barrier.
Selecting trim height for 10mm tiles hinges on anticipating real-world variables-adhesive thickness, substrate flatness, and environmental stress.
While 11.5–12.5mm covers most scenarios, always prioritize site verification through mock-ups. As innovations like laser-cut custom brass trims and flexible PVC hybrids emerge, the principle remains: trim should amplify durability while disappearing into the design. Whether specifying stainless steel for a luxury hotel or PVC for a budget bathroom, precision in trim height transforms a vulnerable edge into the project's most resilient detail.
Final Recommendation: For typical 10mm floor tiles, start with 12mm trim and adjust upward only if adhesive depth or tile warpage demands it. Stock this height as a baseline in any tile contractor's toolkit.
Share this post

Leah Liu
Hello there! I am Leah. I have worked in the building materials industry for over 10 years. I want to share my experience here - let us make progress together!